
If you read the reviews on Google's Pixel C, you'll notice one big complaint about the tablet/laptop—most reviewers feel that Android simply isn't ready to be used as a desktop OS. The developers at Jide felt the same way, so they set out to make a custom version of Android with proper multitasking support and a UI optimized for the mouse and keyboard.
- Don't Miss: How to Run Your Favorite Android Apps in Chrome
The product of their work is called Remix OS, a fork of the Android x86 project that will run on any device with an Intel or AMD chip. Back in January, Remix OS was finally made available as a public alpha, and a few months later, had been released as a public beta with new features.
The best part is, Remix OS will install on a flash drive so that you don't have to mess with your primary OS. If you'd like to try out this desktop-optimized version of Android on your PC, just grab a USB stick and read on below.
Requirements
- 8 GB+ FAT32 USB 3.0 flash drive with 20+ Mb/s write speed
- Computer that supports booting from USB drive
- Legacy boot mode enabled with secure boot disabled
Note: While you can't create the Remix OS bootable USB drive on a Mac, you can run Remix OS on a Mac from a bootable USB drive you created on Windows.
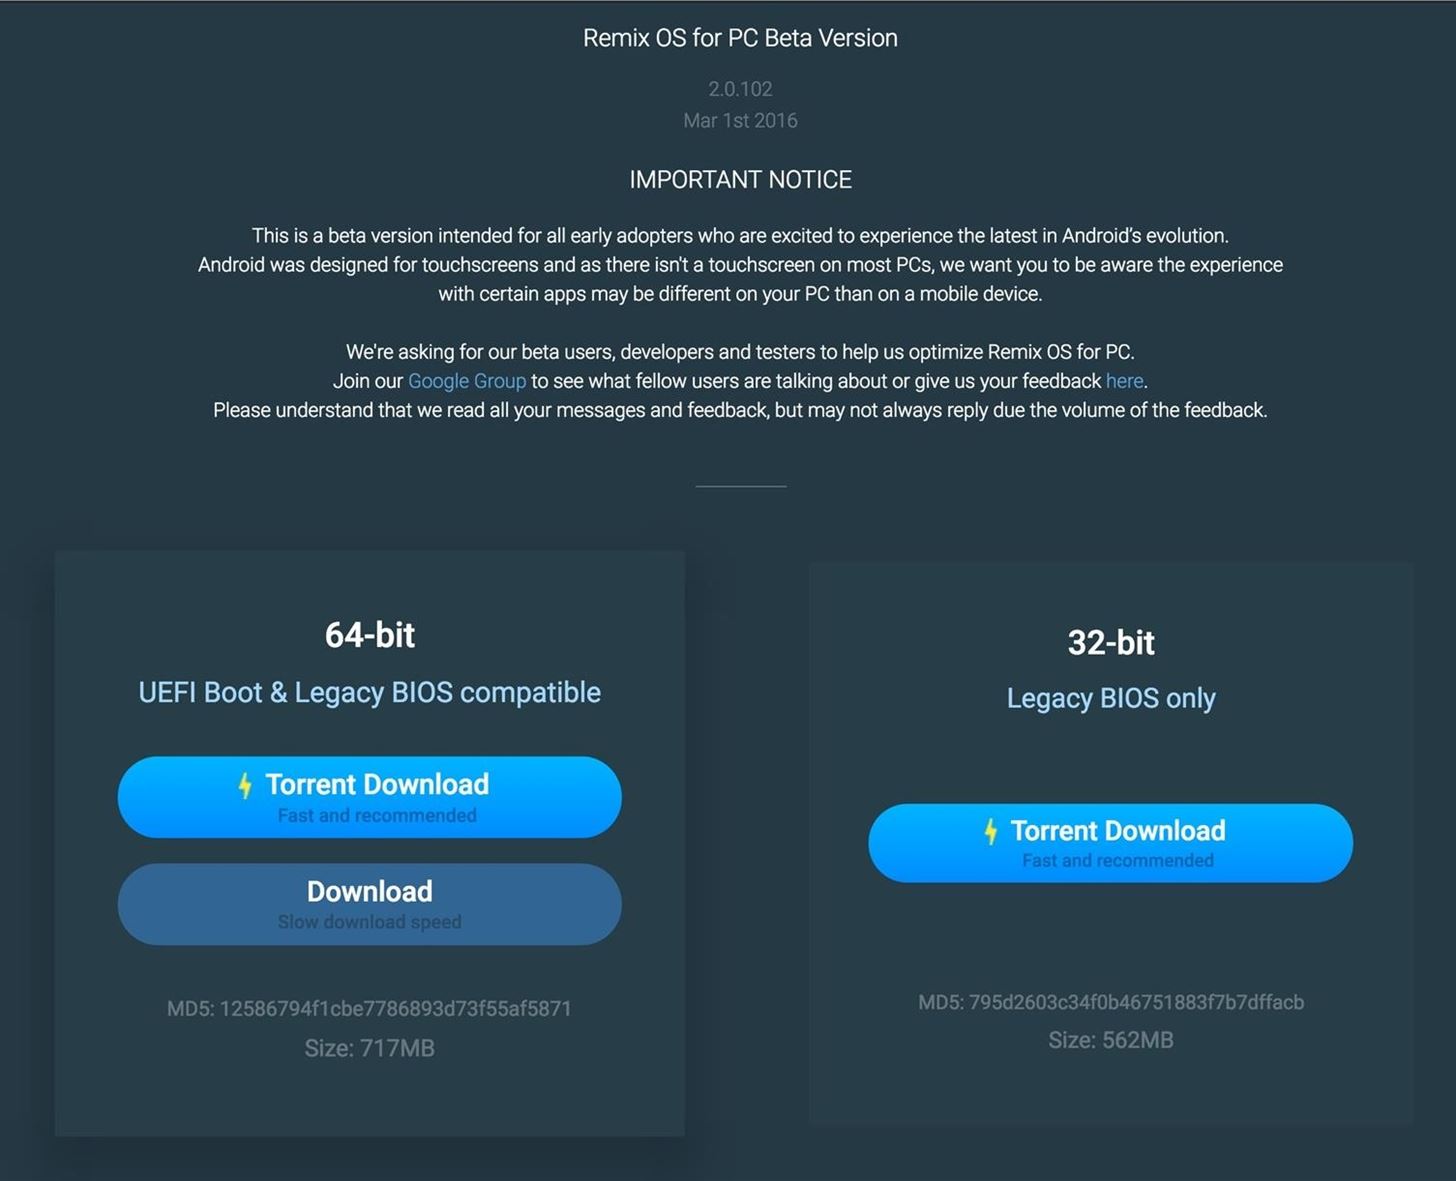
Step 1: Download Remix OS (Windows Only)
To get started with your installation, head to the Remix OS download page at the following link:
Remix OS for x86 computers is still in its testing phases, but the operating system works quite well already. Nonetheless, the Remix devs want you to be well aware that the operating system may have some bugs, and that you should join their Google Group to learn more about current issues.
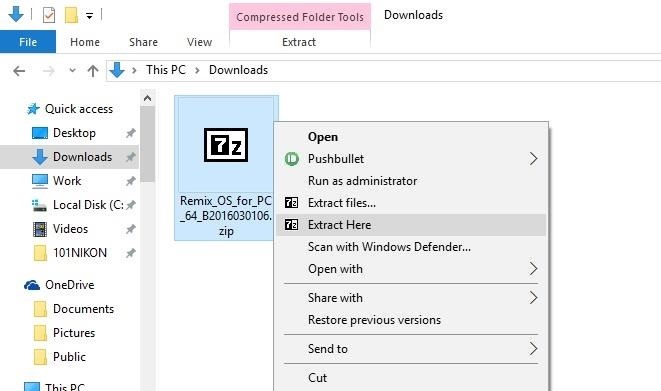
Step 2: Unzip the File (Windows Only)
Once you've downloaded the file, you'll need to extract the contents of the ZIP archive. The built-in ZIP manager on Windows should do the trick, but if not, you can download 7-Zip for free at this link.
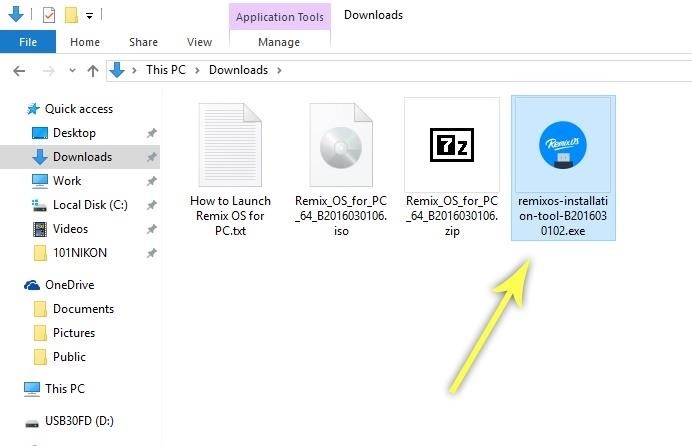
Step 3: Install the ISO File onto Your USB Drive (Windows Only)
After extracting the contents of the ZIP, make sure that you have your USB flash drive plugged into your PC and launch the "remix-installation-tool.exe" file.
From here, select your USB flash drive using the two drop-down menus at the bottom of the screen, then click the "Browse" button on the right.

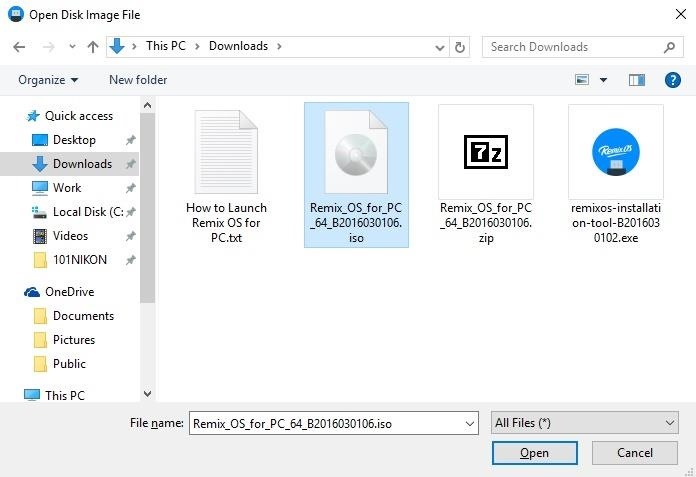
Next, use the file browser window to navigate to the folder where you extracted the contents of the ZIP, then select the "Remix_OS_for_PC.iso" file and click "Open."
Finally, click "OK" on the Remix OS USB Tool window, then a portable version of the operating system will be installed on your USB flash drive. The process will take up to 5 minutes, and when it's finished, make sure to leave your USB drive connected to the PC.

Step 4: Finish the Install Process (Windows Only)
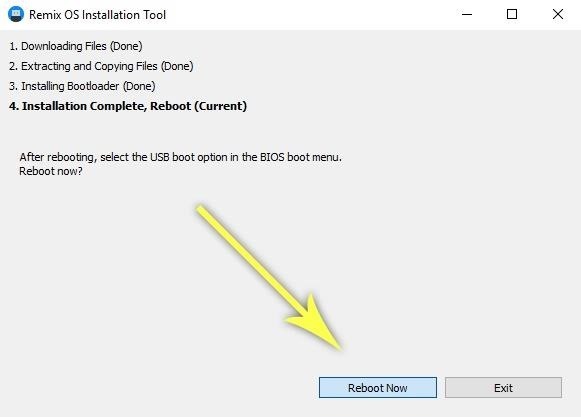
When the USB Tool has finished installing Remix OS on your flash drive, you'll be prompted to reboot your PC. Click "Reboot Now" on this screen if you'd like to try out Remix OS.
Step 5: Boot into Remix OS from BIOS (Windows Only)
Skip to Step 6 if you plan on booting Remix OS up on a Mac.
While your computer is rebooting, press the F12 button on your keyboard to launch your boot menu. This may be different depending on your computer's manufacturer, so refer to your owner's manual if this doesn't work, or check the read out on your screen when booting up... your system could use any F key, the Esc key, or the Delete key.
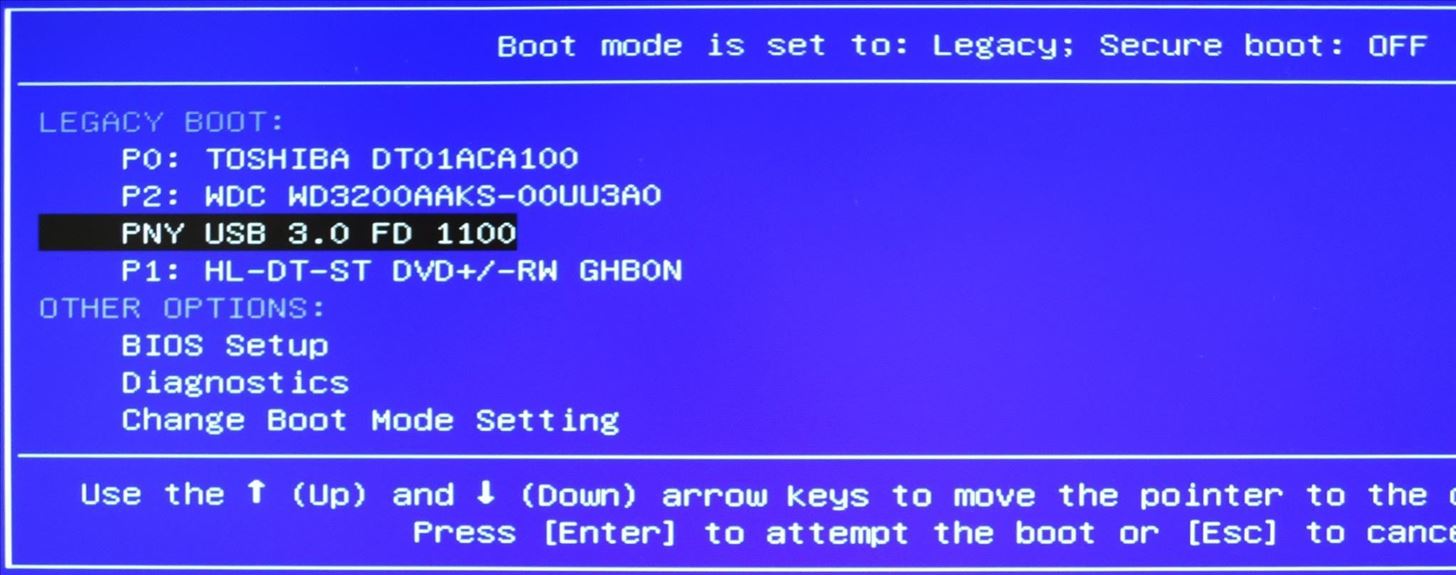
Once you've arrived at your PC's boot menu, make sure it's set to legacy mode and secure boot is turned off. If that's all good to go, select your USB drive from the list to boot into Remix OS. You can find this information and adjust in a menu called something similar to "boot settings."
Immediately after selecting your USB drive from the boot menu, you'll be prompted to select your preferred mode for Remix OS. The "Guest mode" option will not store any data, but is a bit more stable. The "Resident mode" option, on the other hand, will save your user accounts and installed apps, but you may encounter some bugs in this mode.

Step 6: Boot into Remix OS from Start Manager (Mac Only)
If you created the bootable drive to use on a Mac, just plug it in and restart or turn on your computer. Immediately after, press and hold the Option key and wait for the Startup Manager to appear. You should see the new Remix OS listed, so just double-click on it or use your left/right arrows to select it and press Enter.
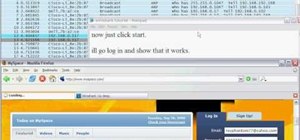
Step 7: Test Out Your New Android Desktop
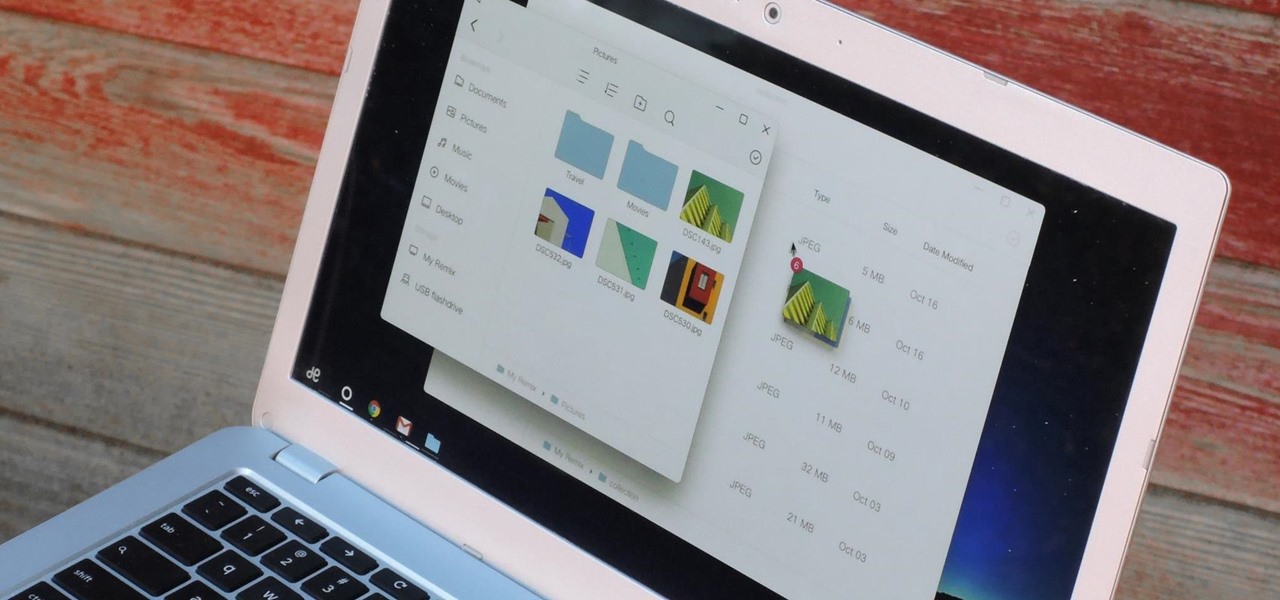
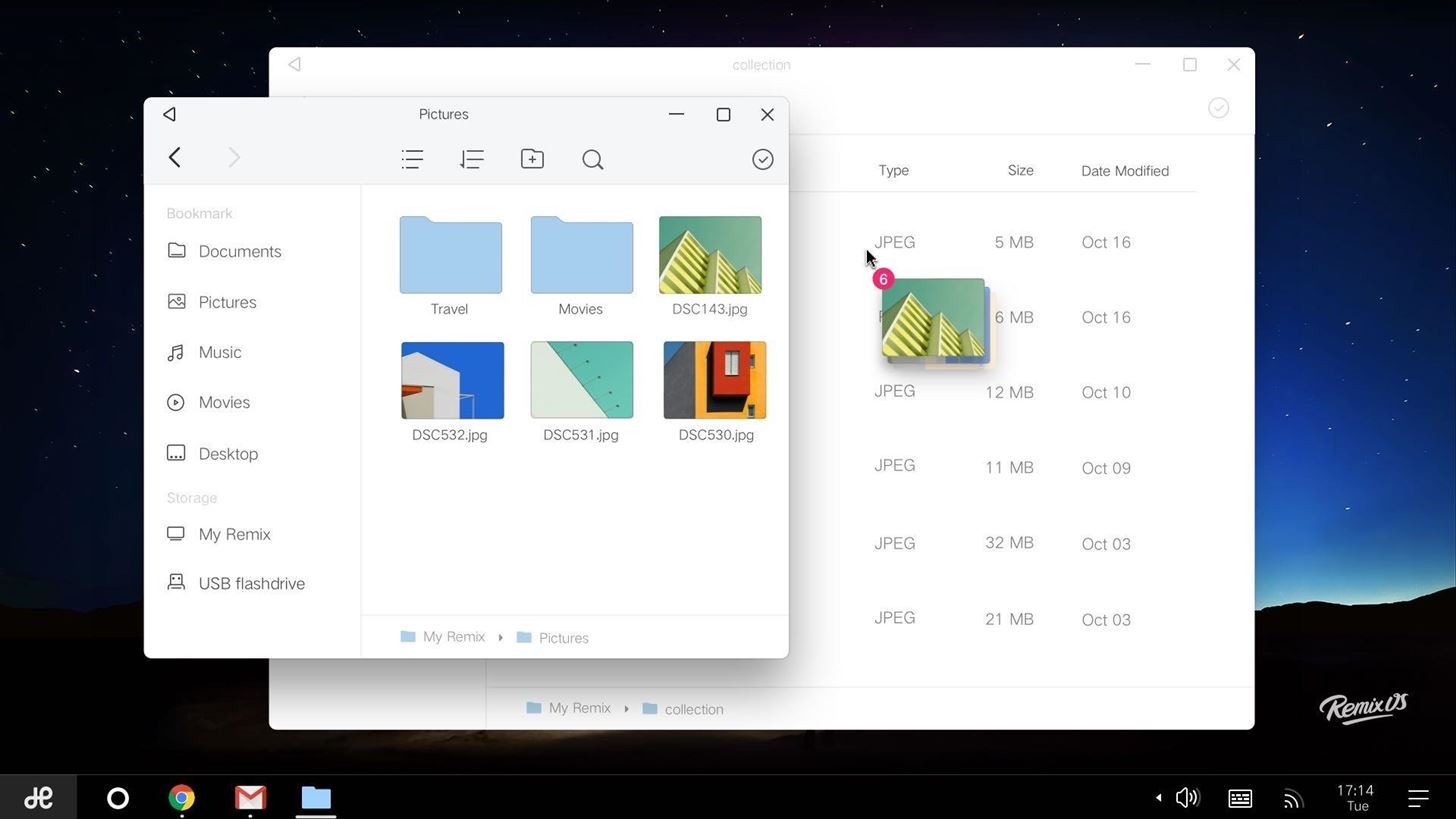
At this point, just give Remix OS a few minutes to finish booting up. Once it's ready, you'll be greeted by your new Android desktop. The UI is optimized for mouse and keyboard input, and Remix OS includes true multi-window support, so you should feel right at home. Worth noting, this early version of Remix OS does not include Google's apps and services by default—but if you don't want to be limited to sideloaded apps, you can enable a hidden version of the Google Play Store with these instructions.
What are your thoughts on Remix OS so far? Do you think it will be a viable option for using Android with a mouse and keyboard? Let us know in the comment section below.
Just updated your iPhone? You'll find new emoji, enhanced security, podcast transcripts, Apple Cash virtual numbers, and other useful features. There are even new additions hidden within Safari. Find out what's new and changed on your iPhone with the iOS 17.4 update.


2 Comments
Woot! I am so ready for this :)
So, how was it? After two months you should have some comments on the experience ;)
Share Your Thoughts