
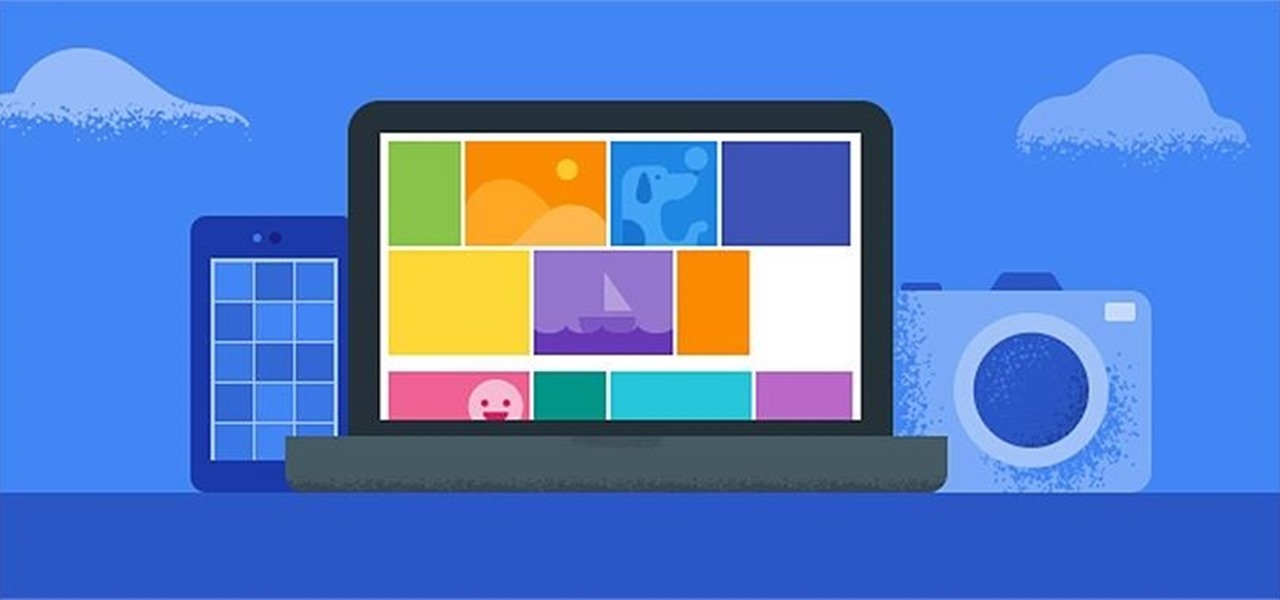
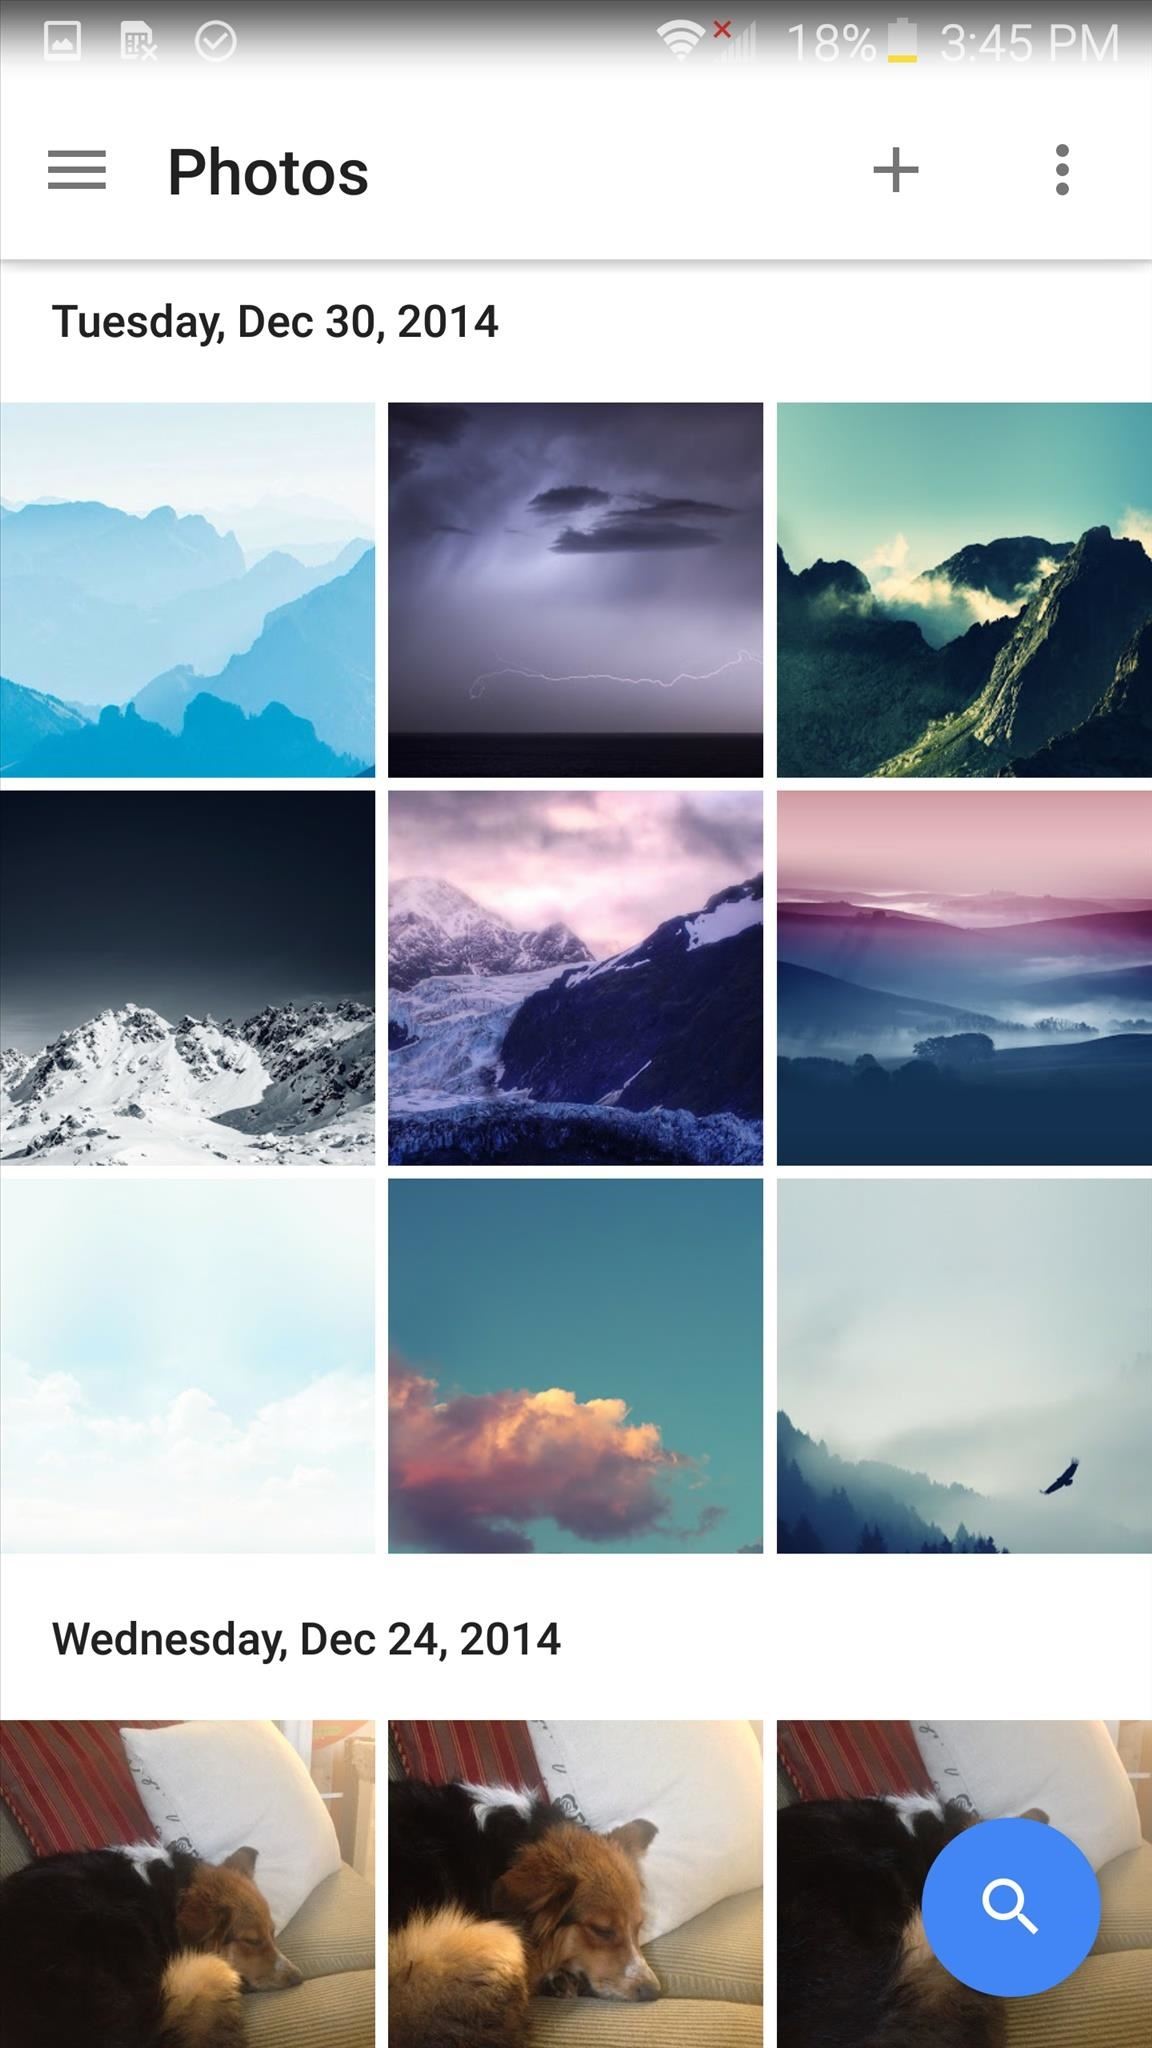
Google made a huge splash this year in their annual Google I/O with an awesome announcement regarding their Photos app. Although I was primarily interested in the details surrounding Android M, my ears instantly perked up when Google announced that their Photos app will now offer free, unlimited, high-quality storage.
That's right... High-quality. Free. And unlimited.
Why the hell should you care? Because regardless if you're an Android or Apple user, Google is giving you the opportunity to save money and precious storage space on your respected devices by aggregating every single photo you have all into one extremely easy-to-use application.
Photos supports 16 MP photo quality and 1080p video quality, storing anything larger than that in compressed, print-quality resolution.
That being said, you probably have pictures scattered all over the place, like Facebook, Instagram, Dropbox, and even iCloud, that you'll probably want to import into the new Google Photos, so we're here to show you how.
How to Extract Photos from Different Sources
The process is different for each service or application. While some make it easy, others may not have a clear-cut way of downloading your content, even if it is your content. Because of this, we'll be going through some of the more popular sites that might currently be hosting your photos and videos.
Facebook Pictures & Videos
Since most of our lives are chronicled on Facebook, let's start here. To get started, you'll need to grab all of your pictures. Don't worry, we're not going one-by-one and saving them all.
On the Facebook website, enter the General settings and "Download a copy of your Facebook data."
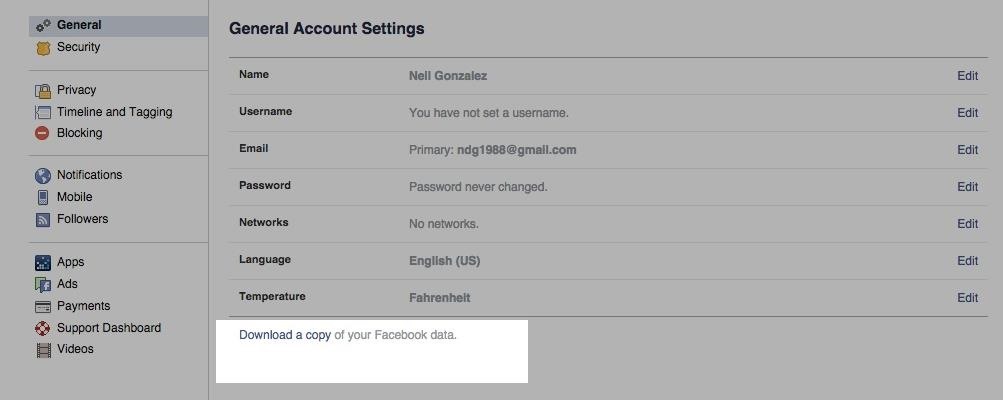
Facebook will then email you a .zip file with all of the photo or video content you've posted or shared on Facebook, which does not include pictures you were tagged in by others.

Instagram Pictures
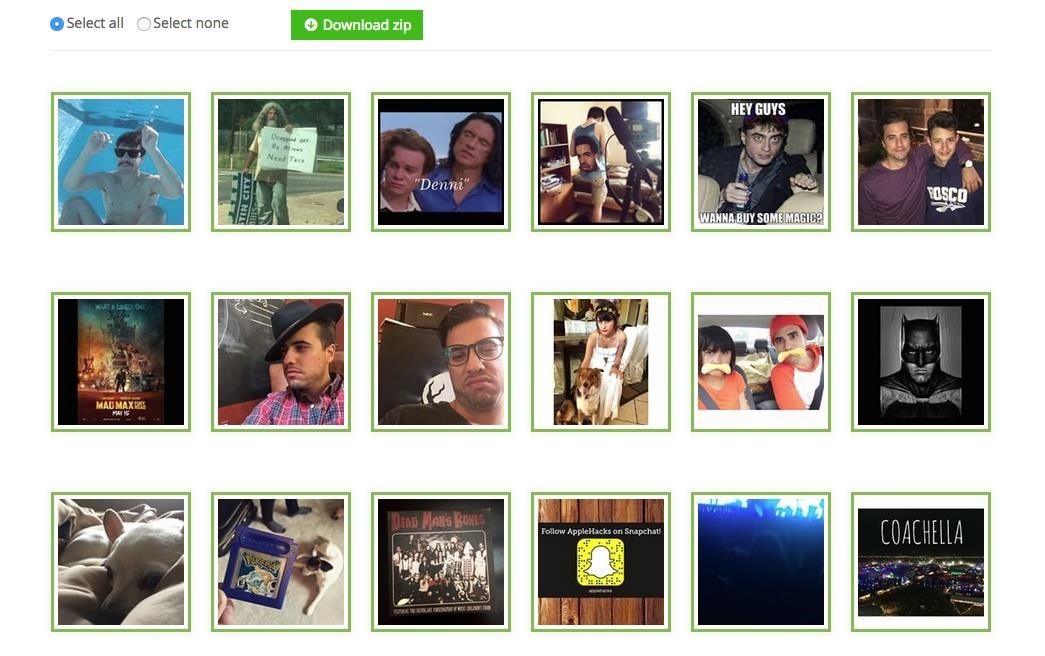
Unfortunately, Instagram doesn't offer a similar service like Facebook does. But don't worry, because it's still simple using the free web service Downgram.
Just sign in using your Instagram information, then either select all of your images or choose individual photos to download. Also, be aware that the "Select all" option will not select every photo you've ever posted. For that, you'll have to go to the bottom of the page and click "Load more images" to expand the page. This may need to be done several times if you have a lot of pictures.
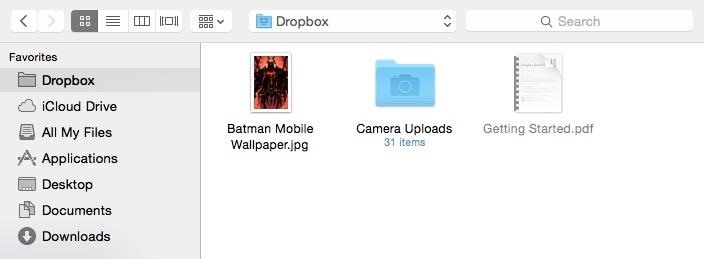
Dropbox Content
Although Dropbox doesn't let you download your images or videos as easily as Facebook does, this process will not require any third-party apps or services. All you need to do is select your all or individual images then click "Share." When the share options pop up, choose "Get Link," which will then automatically be copied to your clipboard. You can also do the same for whole folders, say, if you have them all in a neat and tidy Photos folder.
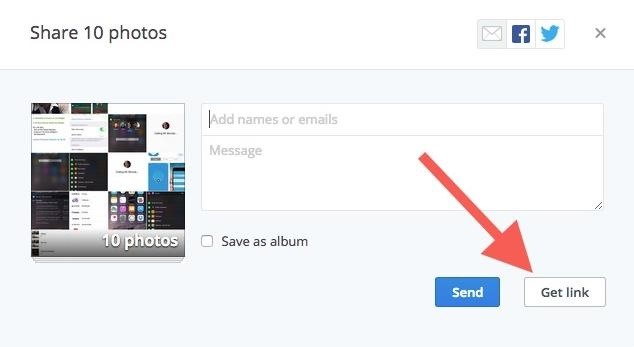
Paste the generated link in your browser then click "Download" on the preview page to begin downloading your zip file.
Note: If you use the Dropbox desktop client, you do not have to do this. Skip below to the section on importing photos into Google Photos for more info.
Flickr Photos
Although Flickr isn't as popular as it once was, you may have some old, nostalgic photos on there. Thankfully, Flickr is the easiest in terms of downloading images. Just highlight the images you want and click the "Download" option that appears below once you do.
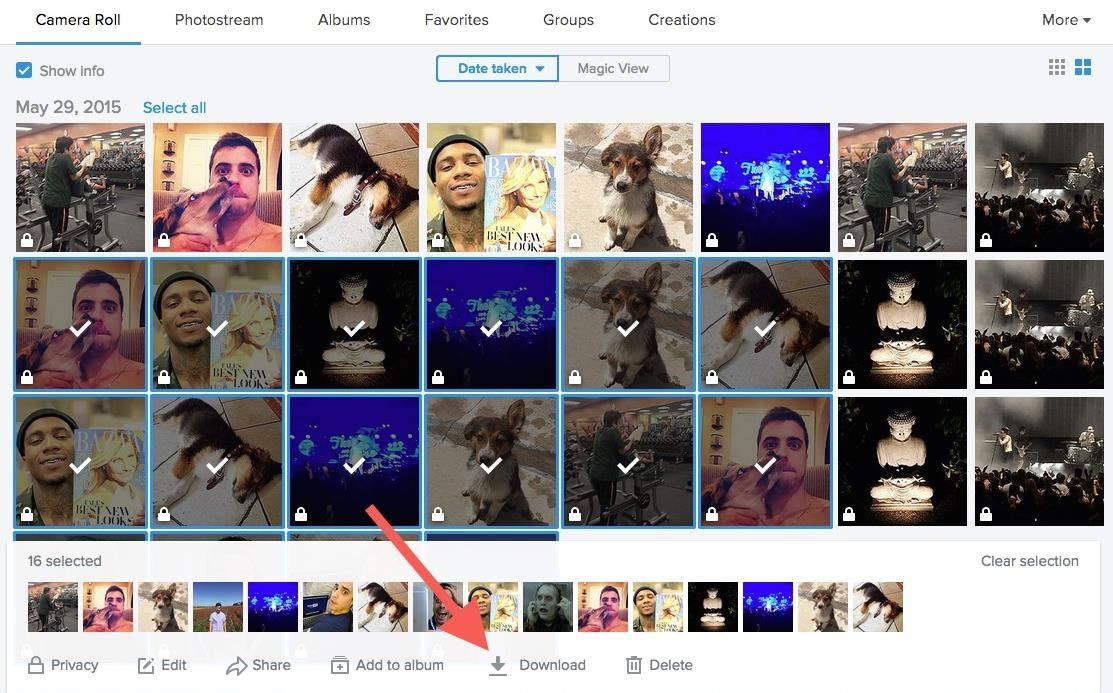
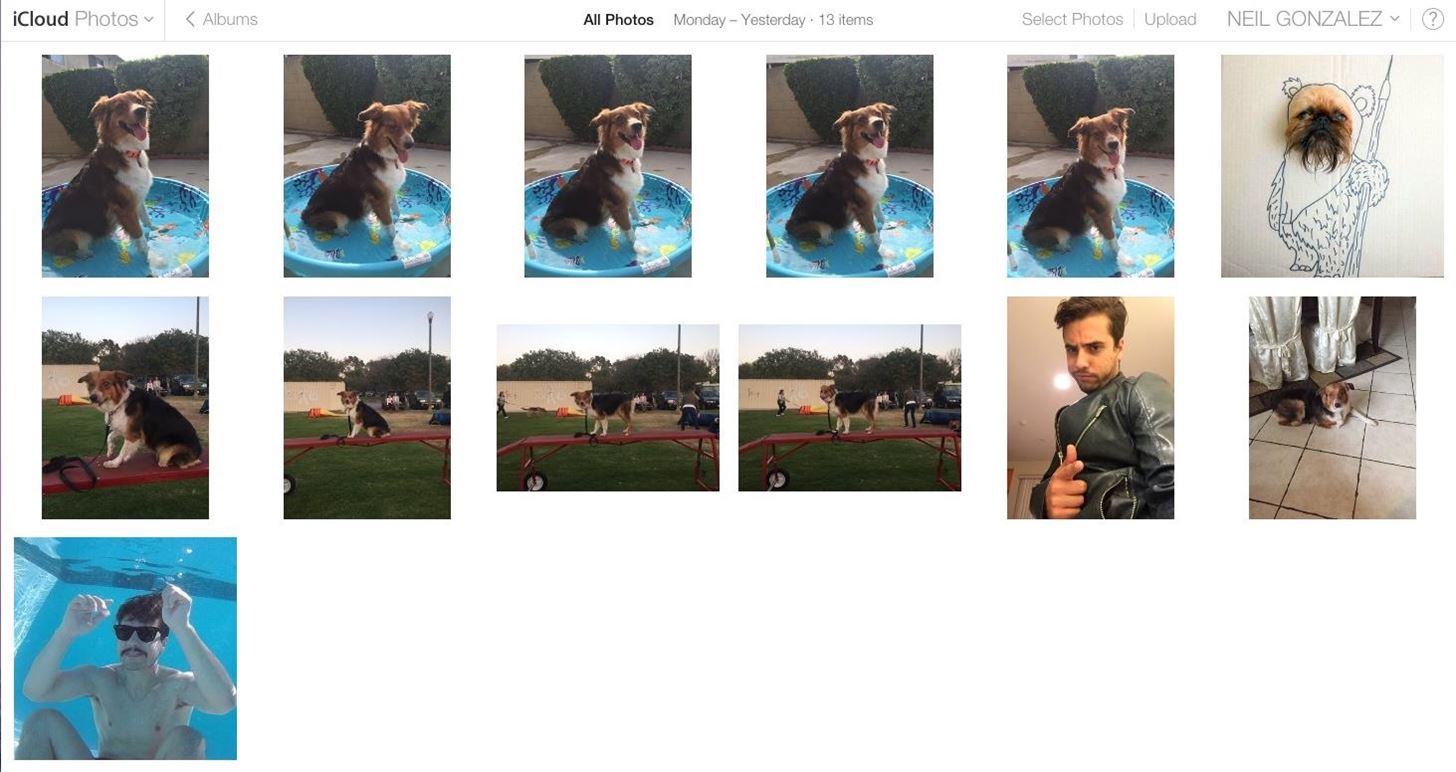
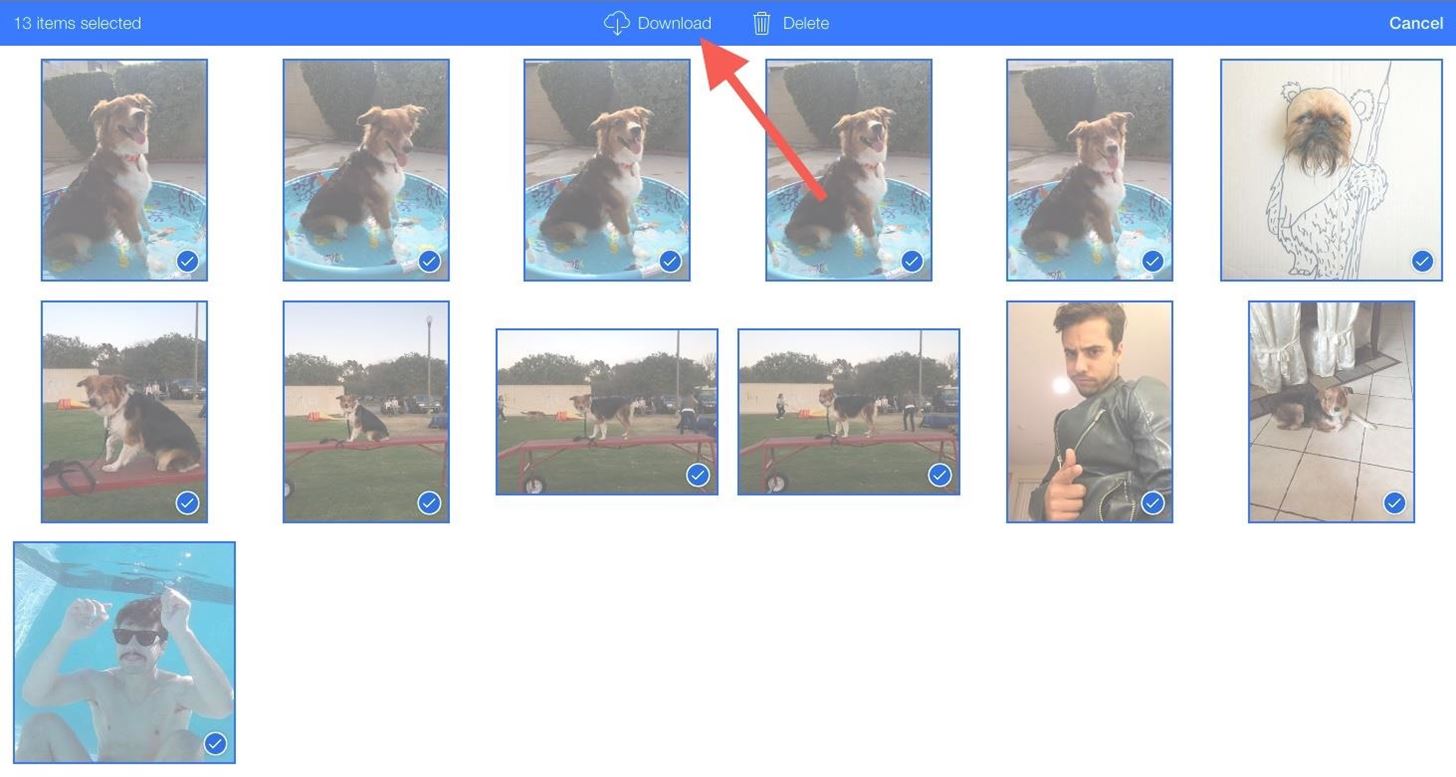
iCloud Content
iOS user also have it pretty easy when downloading their pictures from iCloud. Once signed in to iCloud.com, simply select all the images you want then click "Download." You can check particular pictures or just highlight them all.
Unfortunately, for some odd reason, Apple doesn't provide you with a convenient zip file—they instead download each individual image.
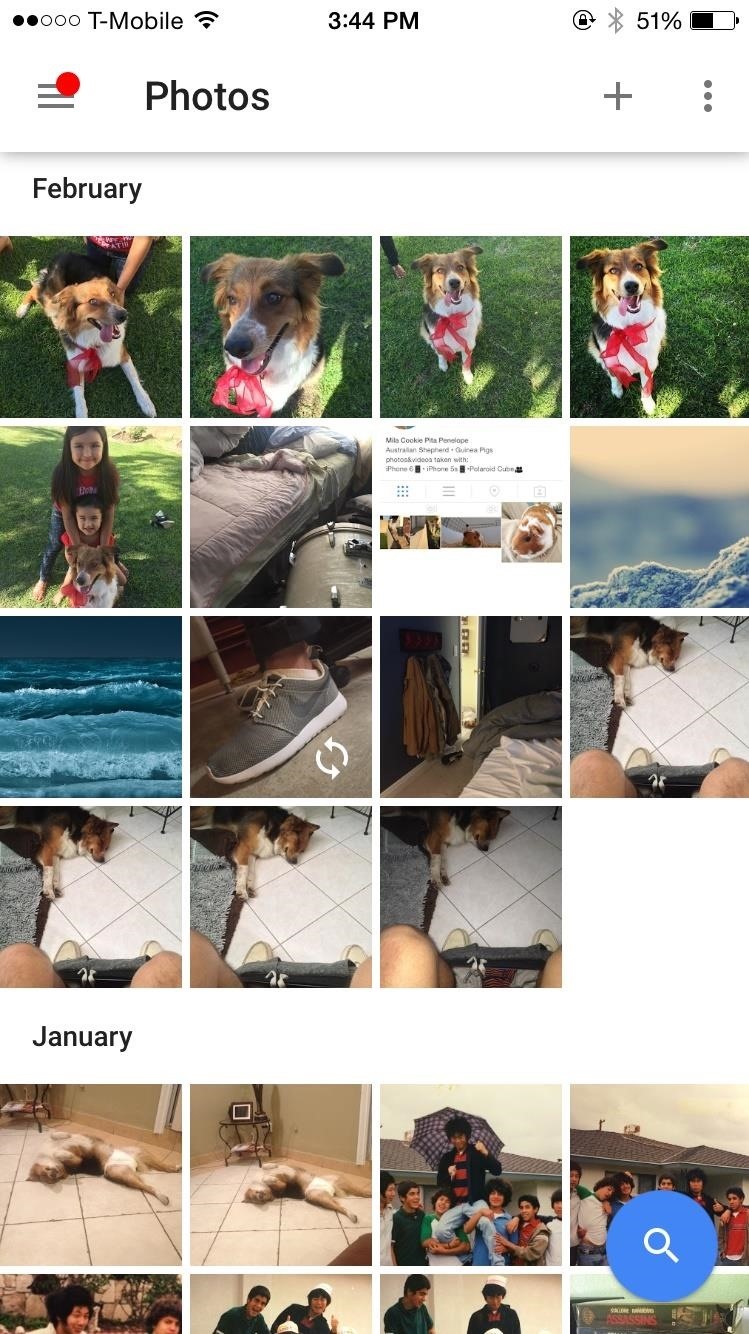
Pictures from Your Android or iOS Device
This section doesn't need much explanation, because all you need to do is install the application on your iPhone or Android device. Along with any pictures you've already uploaded to Photos, the images pre-existing on your phone will also by synced with the application. Convenient, right?
Importing Pictures into Google Photos
Now that you've successfully got all of your images, it's time to import them into Google Photos. For the majority of these, all you need to do is extract the images from their zips, which should still be in your Downloads folder unless you've moved them, then drag and drop them into the Photos webpage (make sure you're logged in to your Google account).

For those of you using the Dropbox desktop client or have iCloud drive on your computer, this is even easier as you can just click "Upload photos" from the Google Photos page and upload directly.
So there you have it. With all your images stored safely in one place, there's no need to worry about accidentally deleting or losing any. Maybe Google's insane for giving us this free storage space, but it's definitely well worth taking advantage.
Just updated your iPhone? You'll find new emoji, enhanced security, podcast transcripts, Apple Cash virtual numbers, and other useful features. There are even new additions hidden within Safari. Find out what's new and changed on your iPhone with the iOS 17.4 update.


1 Comment
How can I do the same thing but for a page I admin?
Share Your Thoughts